Knowing how to wire a boat switch panel is important for boat owners. Boat owners should have the basic knowledge of handling certain simple tasks and repairs, even if they are not experts in the field. No one wants to have to call a professional each time there is a minor problem with their boat.
That said, writing any electrical panel is a complicated process, and there are steps you should take to ensure your own safety and the longevity of your boat.
Today, we’re going to show you how you can easily and confidently wire a boat switch panel by yourself.
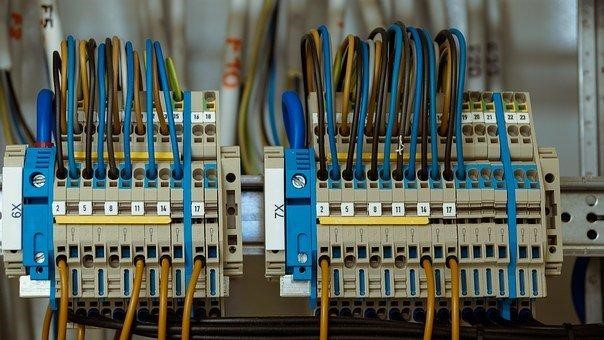
Table of Contents
How to Wire a Boat Switch Panel: What You Need To Know
- Red wires are for positive terminals with a “+” sign
- Yellow or black wires are for negative terminals with a “-” sign
- Voltage is represented with a “V” and measures potential difference
- Ampere is represented with an “A” to measure current
- The wires enable current to flow just as pipes allow water to flow
- Voltage does not flow. What it is, is the measure of potential difference
How to Wire a Boat Switch Panel: The Battery

In a boat, energy is stored in at least one battery. The batteries are charged by either a trickle charger or the engine’s alternator. Marine batteries can store large amounts of energy, so you can expect your batteries to provide almost 1000 amps. This is why you have to be especially careful by providing the correct circuit protection.
First off, you should remember that there are two types of batteries in a boat’s electrical system. There is the deep cycle battery and the starting battery.
The deep cycle battery can be discharged without potentially causing any damage, while the starting battery provides high current at intervals.
Types of Battery Setups in Boats
- A single-engine boat typically has a single starting battery and a house battery.
- A twin-engine boat comes with two starting batteries for both engines and a house battery.
- A non-engine battery wire needs to have a fuse or a circuit breaker to provide circuit protection.
All batteries come with positive and negative terminals. To ensure that the current flows correctly, there has to be a full circuit from the negative to the positive. If there is a break in the circuit, the entire operation stops and that is one of the issues boat owners and operators need to be aware of.
A typical battery can provide a current rating of at least 800A, with a capacity range of 70AH to 80AH. This means that the battery is capable of powering a 1A load for 70 to 80 hours. It can also run a 10A load for seven to eight hours before it is fully discharged.
How to Wire a Boat Switch Panel: Main Battery Switch
There is generally a disconnect switch installed for the main battery in a boat’s wiring system. The disconnect switch enables you to turn everything off simultaneously. The positives run through the disconnect switch, which you can use to select where you want the battery’s output to be directed.
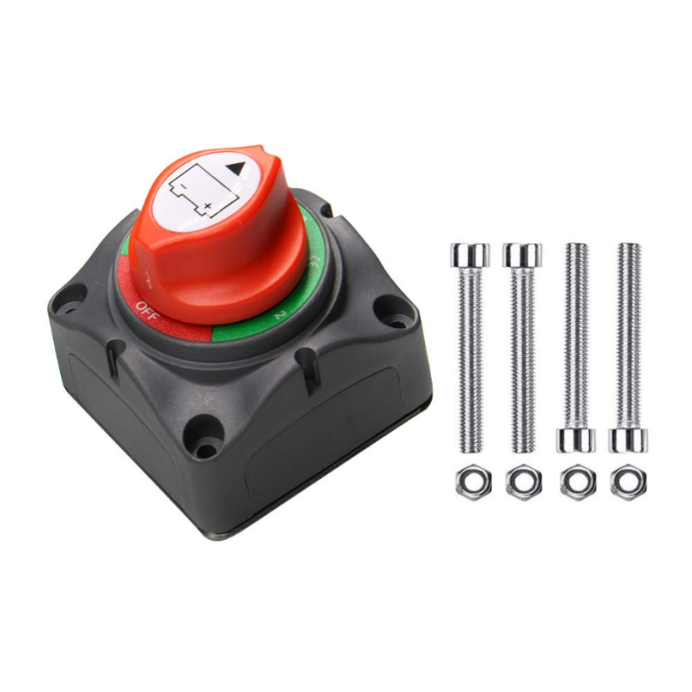
However, a 1-2-Both battery switch is different. The batteries can be held in parallel. The “Both” option can be used if you want the engine to charge both batteries using the alternator. It can also be used if the batteries have to be paralleled during an emergency. This enables you to turn the engine over if both batteries have been drained.
There is one thing you need to keep in mind. The battery switch should be turned to a house circuit when the engine is not running. This enables you to only use the deep cycle battery in that instance.
The Battery Switch Bypass Load
This is another procedure you need to know and consider when wiring your boat. You have to create a circuit that bypasses the main battery switch. This circuit has to be created for the bilge pump float switch; assuming that you have an automatic bilge pump in your boat.
When you do this, the pump can come on when your boat begins to fill with water, regardless of whether or not the battery is turned off. If you ask any boat owner, they would gladly have their battery run out rather than have their boat become flooded. You should consider this procedure.
How to Get Power from the House Battery to the Switch Panel
This part of the guide talks about moving the power from the houseboat battery to the switch panel.
To do this, you will need two conductors. One is a fuse, and the other is the positive running from the battery switch.
You will also have the negative conductor derived from the collated battery negatives. These should run via the central switch panel. To do this, you will need a marine-grade primary wire.
Wiring this section can take a while, so you should be patient. The role of the two conductors is to carry the current of the combined electric loads, so they will have to be large cables.
Get a 12 AWGothers would wire, regardless of the size of your boat or load. The larger the boat, the larger the wire. So, if you have a large boat with 5 to 10 loads, you will need a 10AWG.
It is important to mention that these recommendations do not consider the specifics of each boat. Instead, this guide simply provides generalized information on how to wire a boat switch panel. There will be various exceptions. Remember that using a longer wire to connect the switch panel to the battery will result in a voltage drop. You can prevent this by getting a bigger cable.
Install a Terminal Block to Act as a Breakout Point
You can install the wiring harness seamlessly once you have fully wired the boat switch panel. Each of the switch outputs needs to have its gang when the battery terminal block is installed.
Fortunately, the labels are clearly marked, making it easy to have a breakout point when there is a need to add other items later on or when there is a reason to troubleshoot.
If you finish this, you should pat yourself on the back for getting this far. Any steps from now on should be much easier. What you have to do is connect the already-connected boat wiring to the terminal block and bus bar.
Connect the terminal block with the positives, while the bus bar is connected using the negatives.
Bottom Line
Keep in mind that the information in this guide is a general overview of how to wire a boat switch panel, and it should be treated as such.
That means, while the steps generally apply to all boats, there might be slight differences from one boat to another. Nevertheless, if you follow the process in this article, you should be able to wire a boat switch panel in no time.